While there are numerous applications where pressure testing can be done safely and accurately in the field, there are many situations where bench testing, or calibration in the lab, is the preferred method. This involves completely removing the process instruments from where they’re installed (pipeline, boiler, instrument, etc.) and taking them to a lab for calibration. Because they contain small gears and moving parts, analog pressure gauges are particularly susceptible to overpressure, extreme temperature, corrosion, moisture, and vibration that are common to many field applications, so a benchtop calibration is often the most practical option when calibrating analog gauges. Labs are climate controlled and use pressure references with higher accuracy than those typically used in the field. And when tasked with testing multiple gauges that require different levels of pressure, bench testing makes it much easier to compile all the testing equipment together in one place.
How to Bench Test an Analog Gauge
A Step by Step Guide
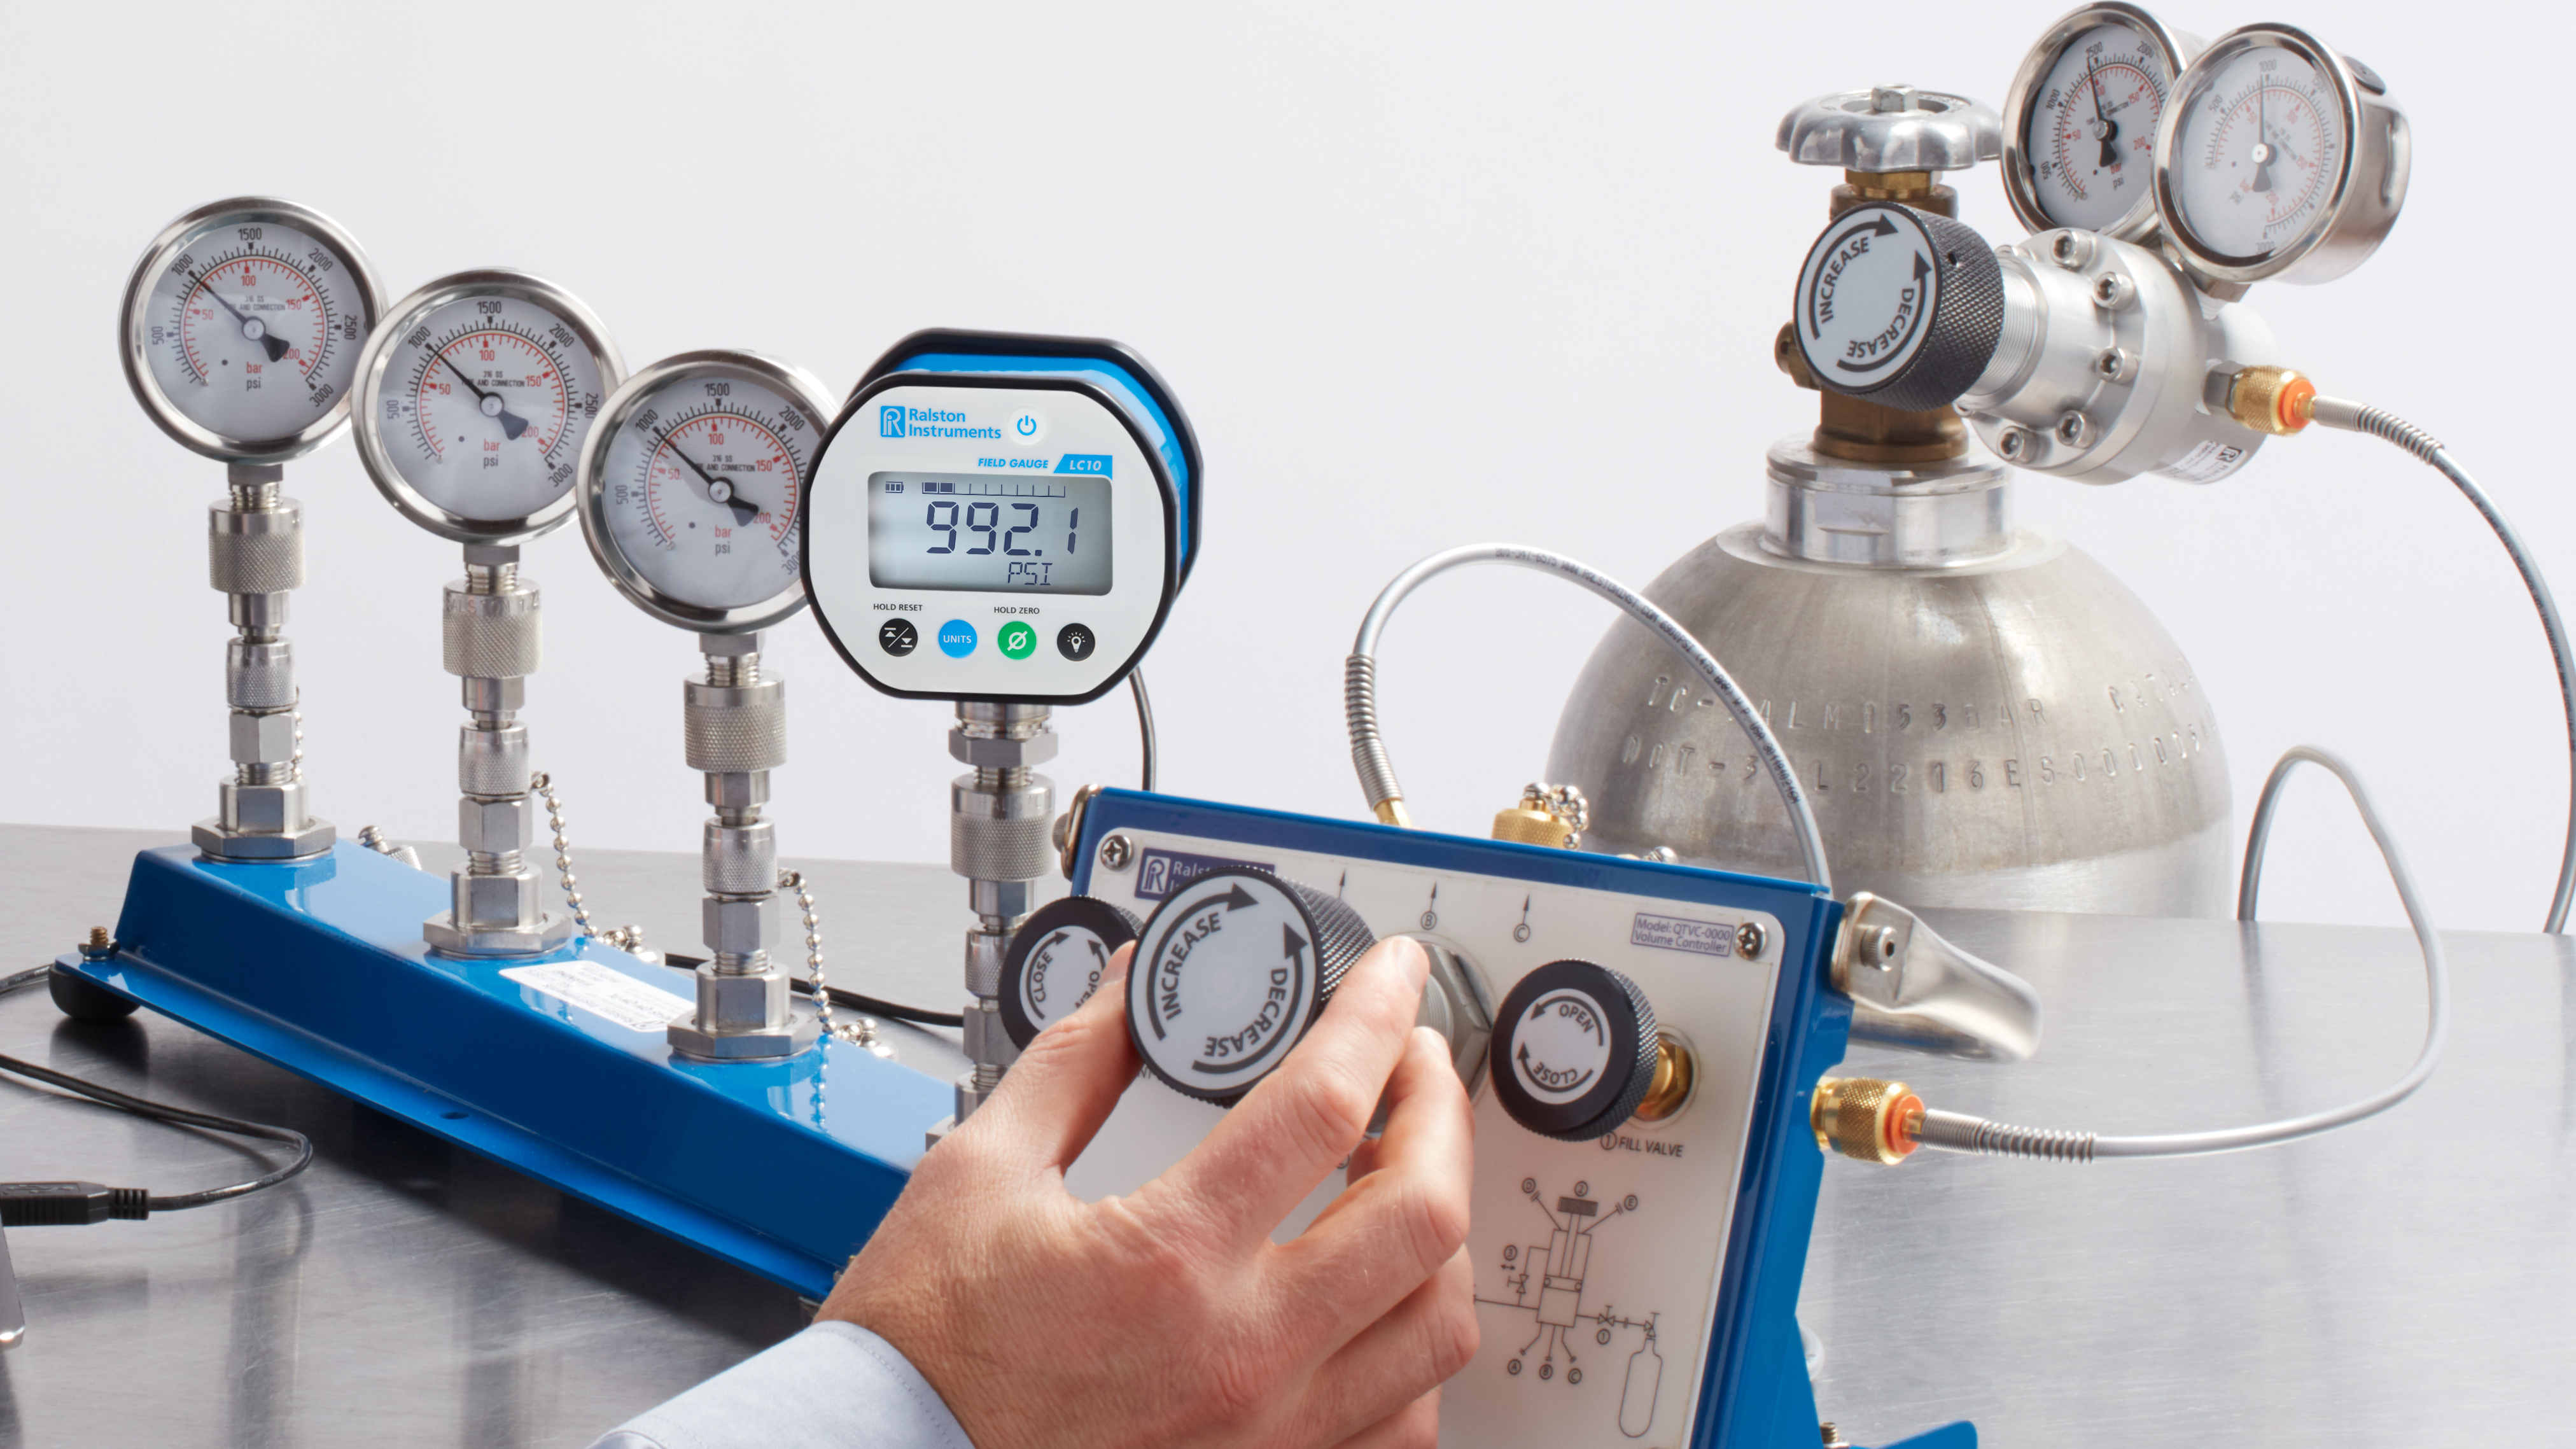
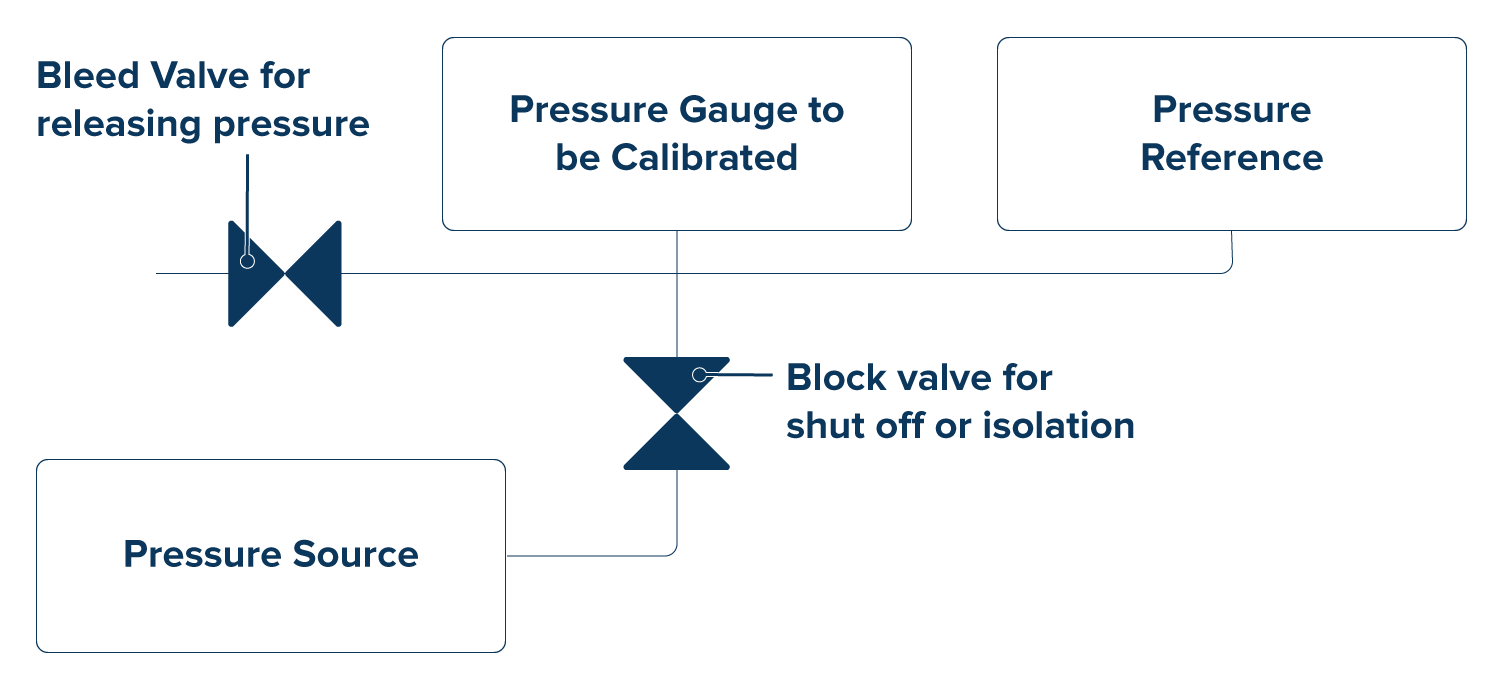
Bench testing an analog gauge is a relatively simple procedure. Before you get started, make sure you’re using a traceable pressure reference that’s been calibrated to the manufacturer’s specifications with an accuracy that is typically 4 times greater than that of the device being calibrated. You’ll also need a pressure source, and depending on the gauge you’re calibrating, a flathead screwdriver to make adjustments.
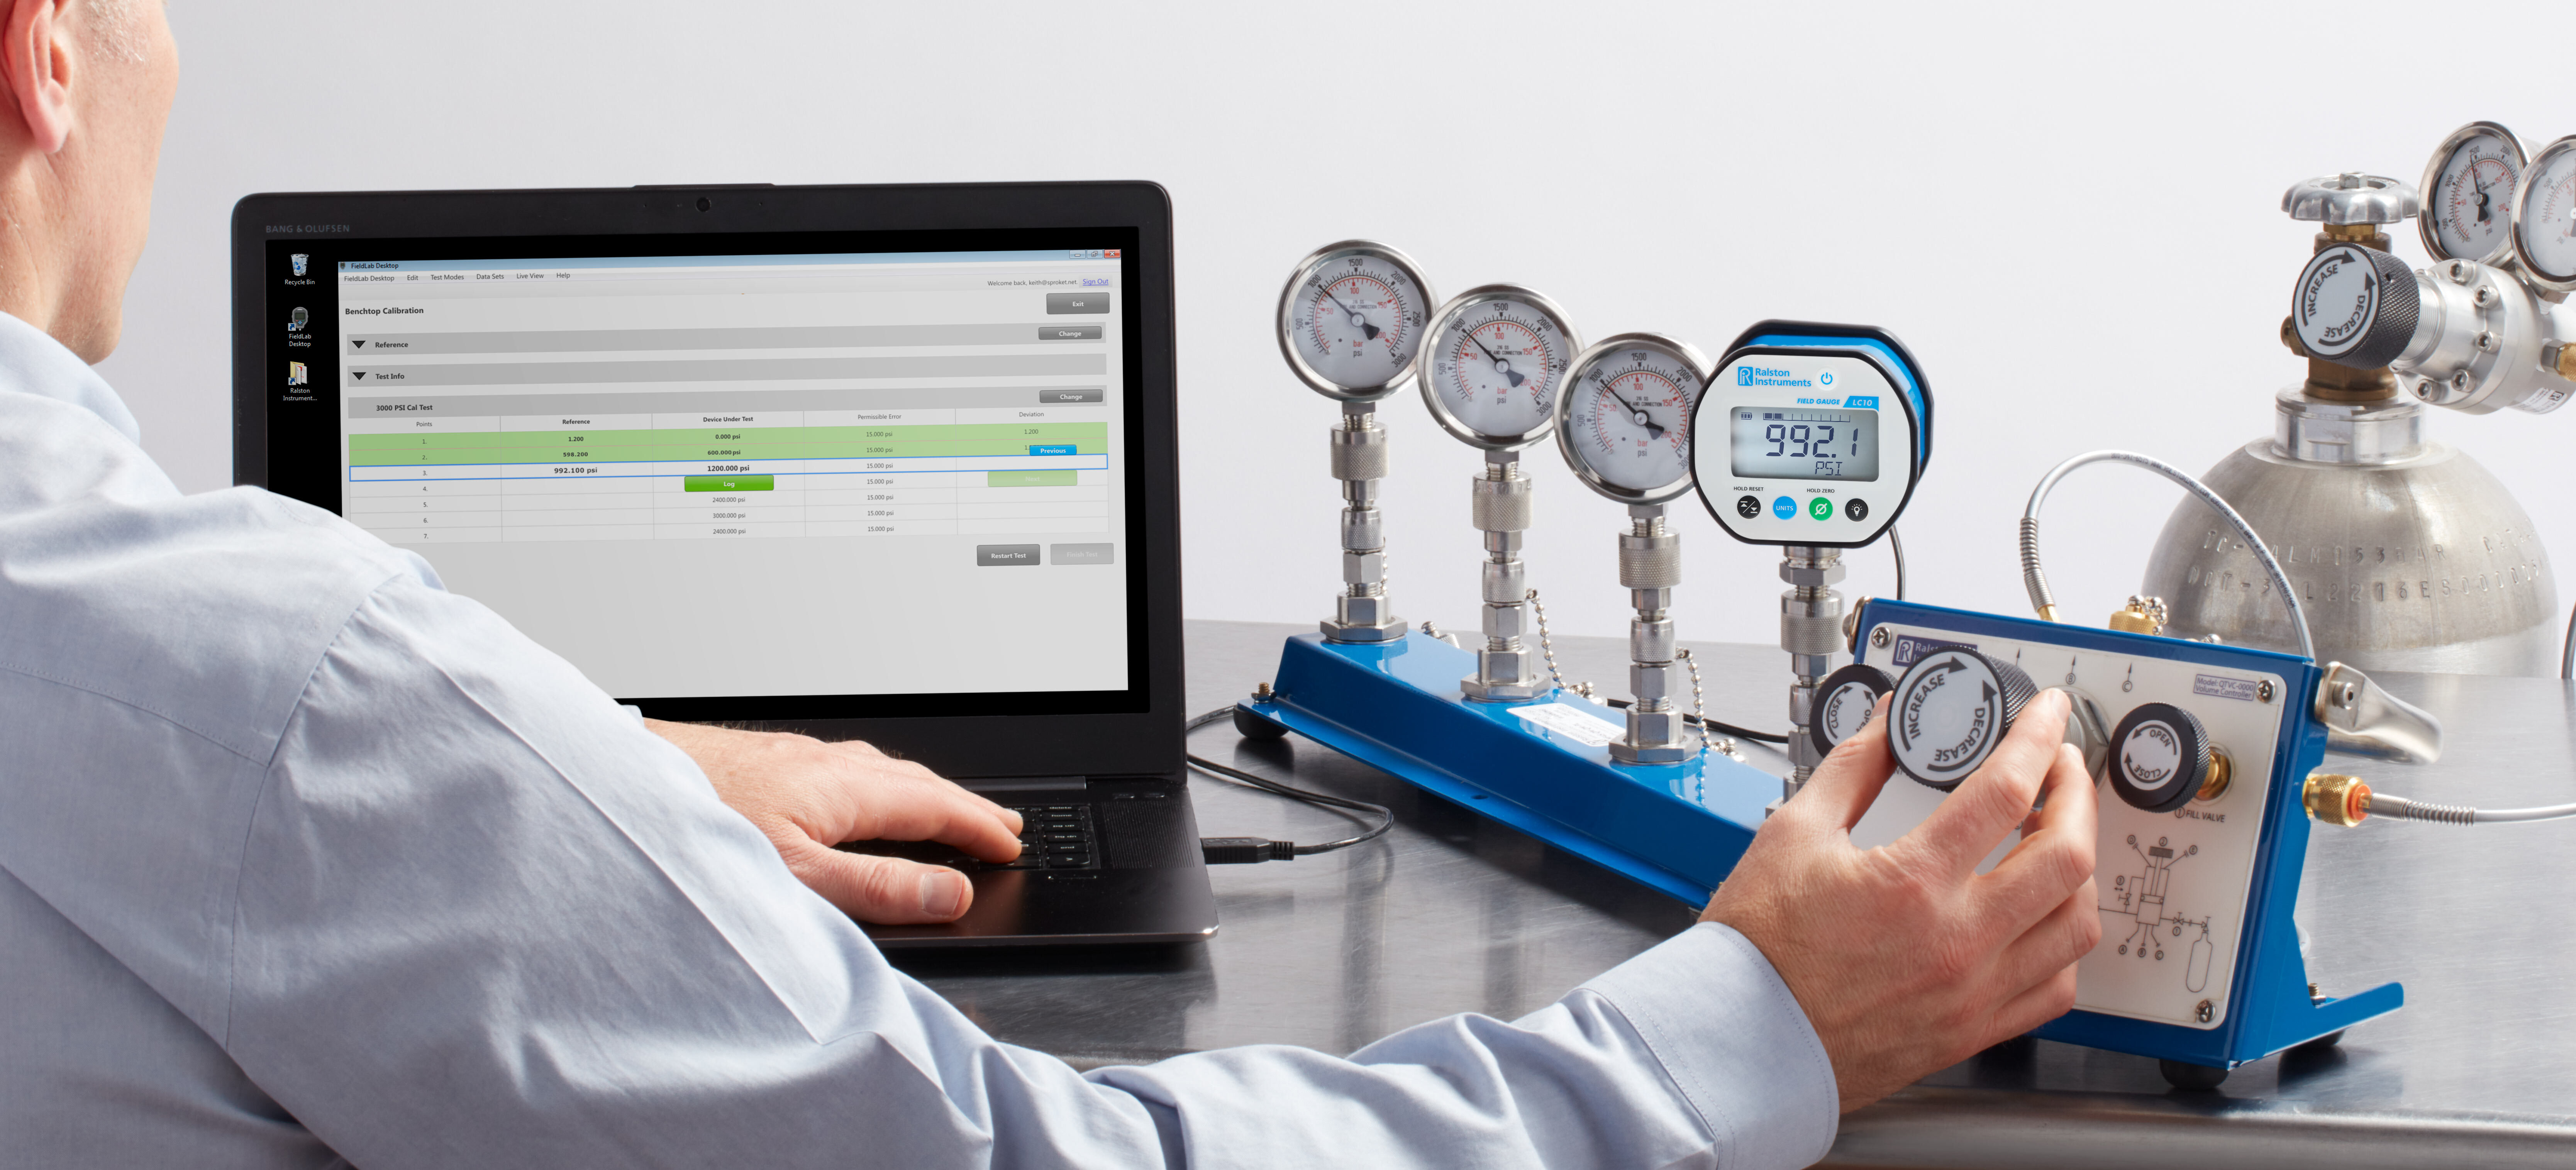
1: Connect Your Devices
Connect the gauge to be calibrated, the pressure reference, and a pressure source (typically a hand pump or comparator).
2: Exercise the Device Under Test
Exercise the gauge by applying pressure until you reach full scale and holding that pressure briefly before venting the pressure. This is especially important if the gauge hasn’t had pressure applied recently. Ideally the gauge is exercised 1-3 times prior to performing a calibration.
3: Zero the Gauge
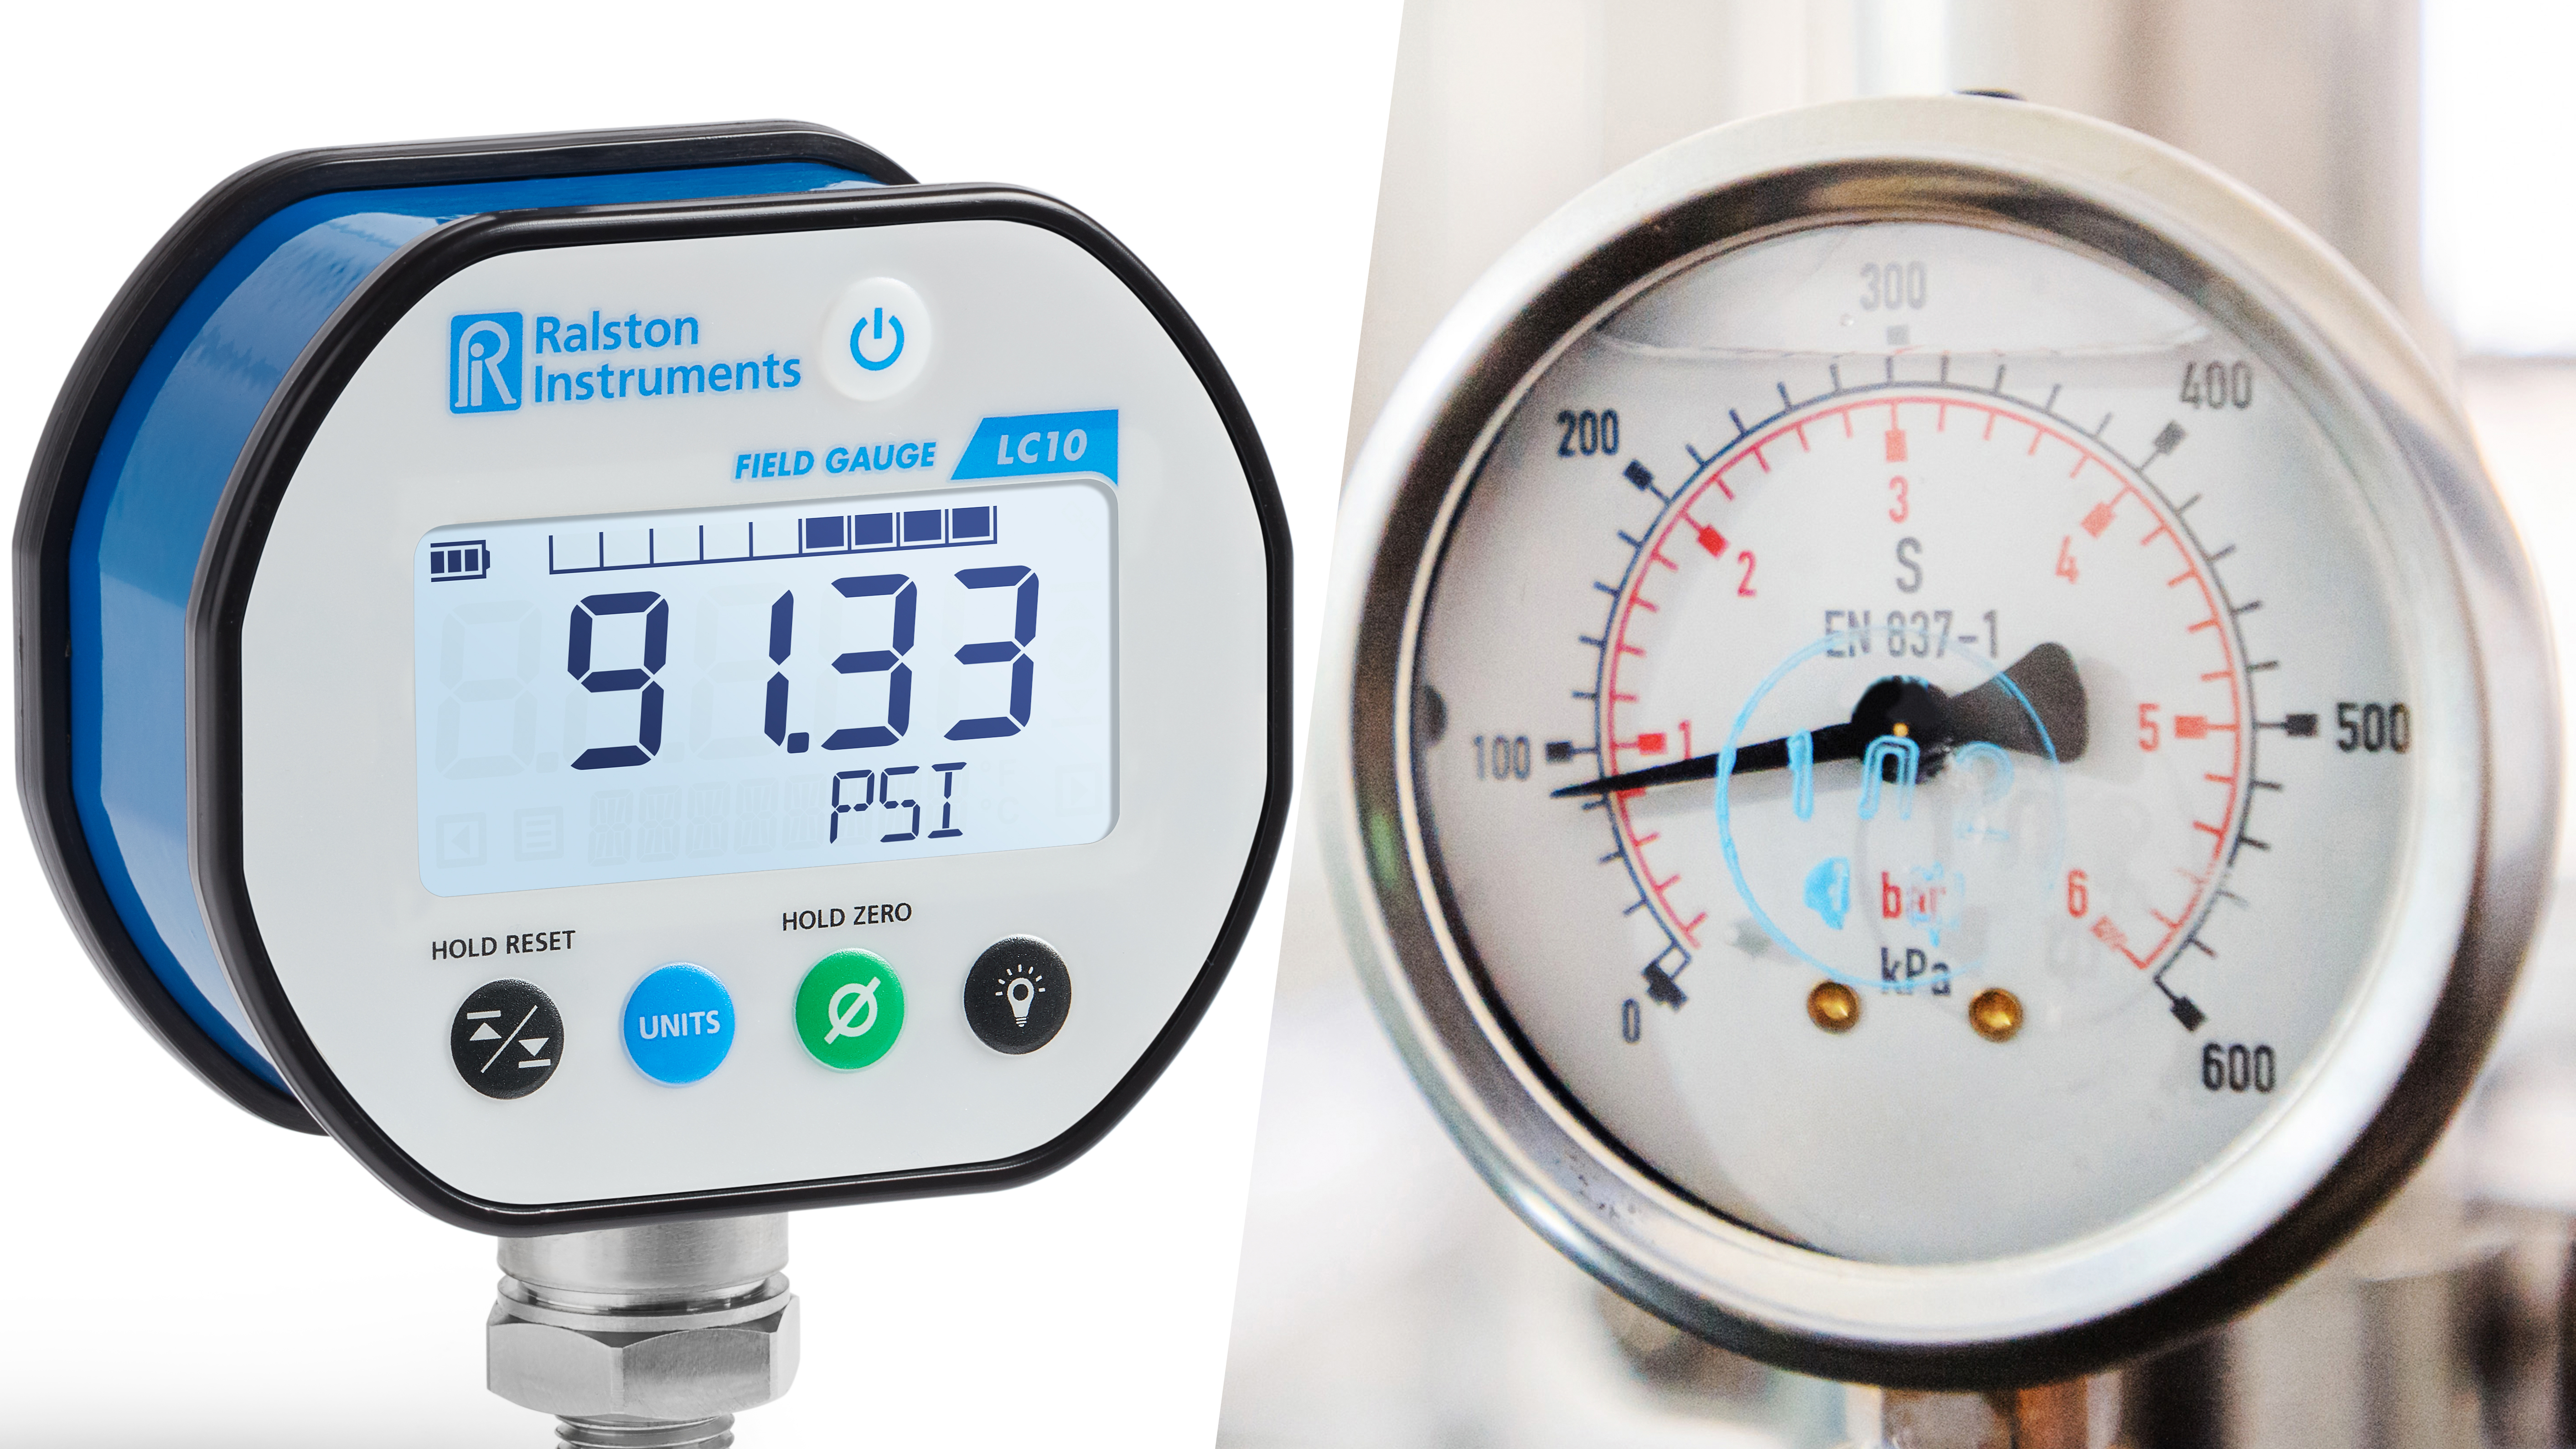
Zero the gauge so that the pointer is set to 0 when no pressure is applied.
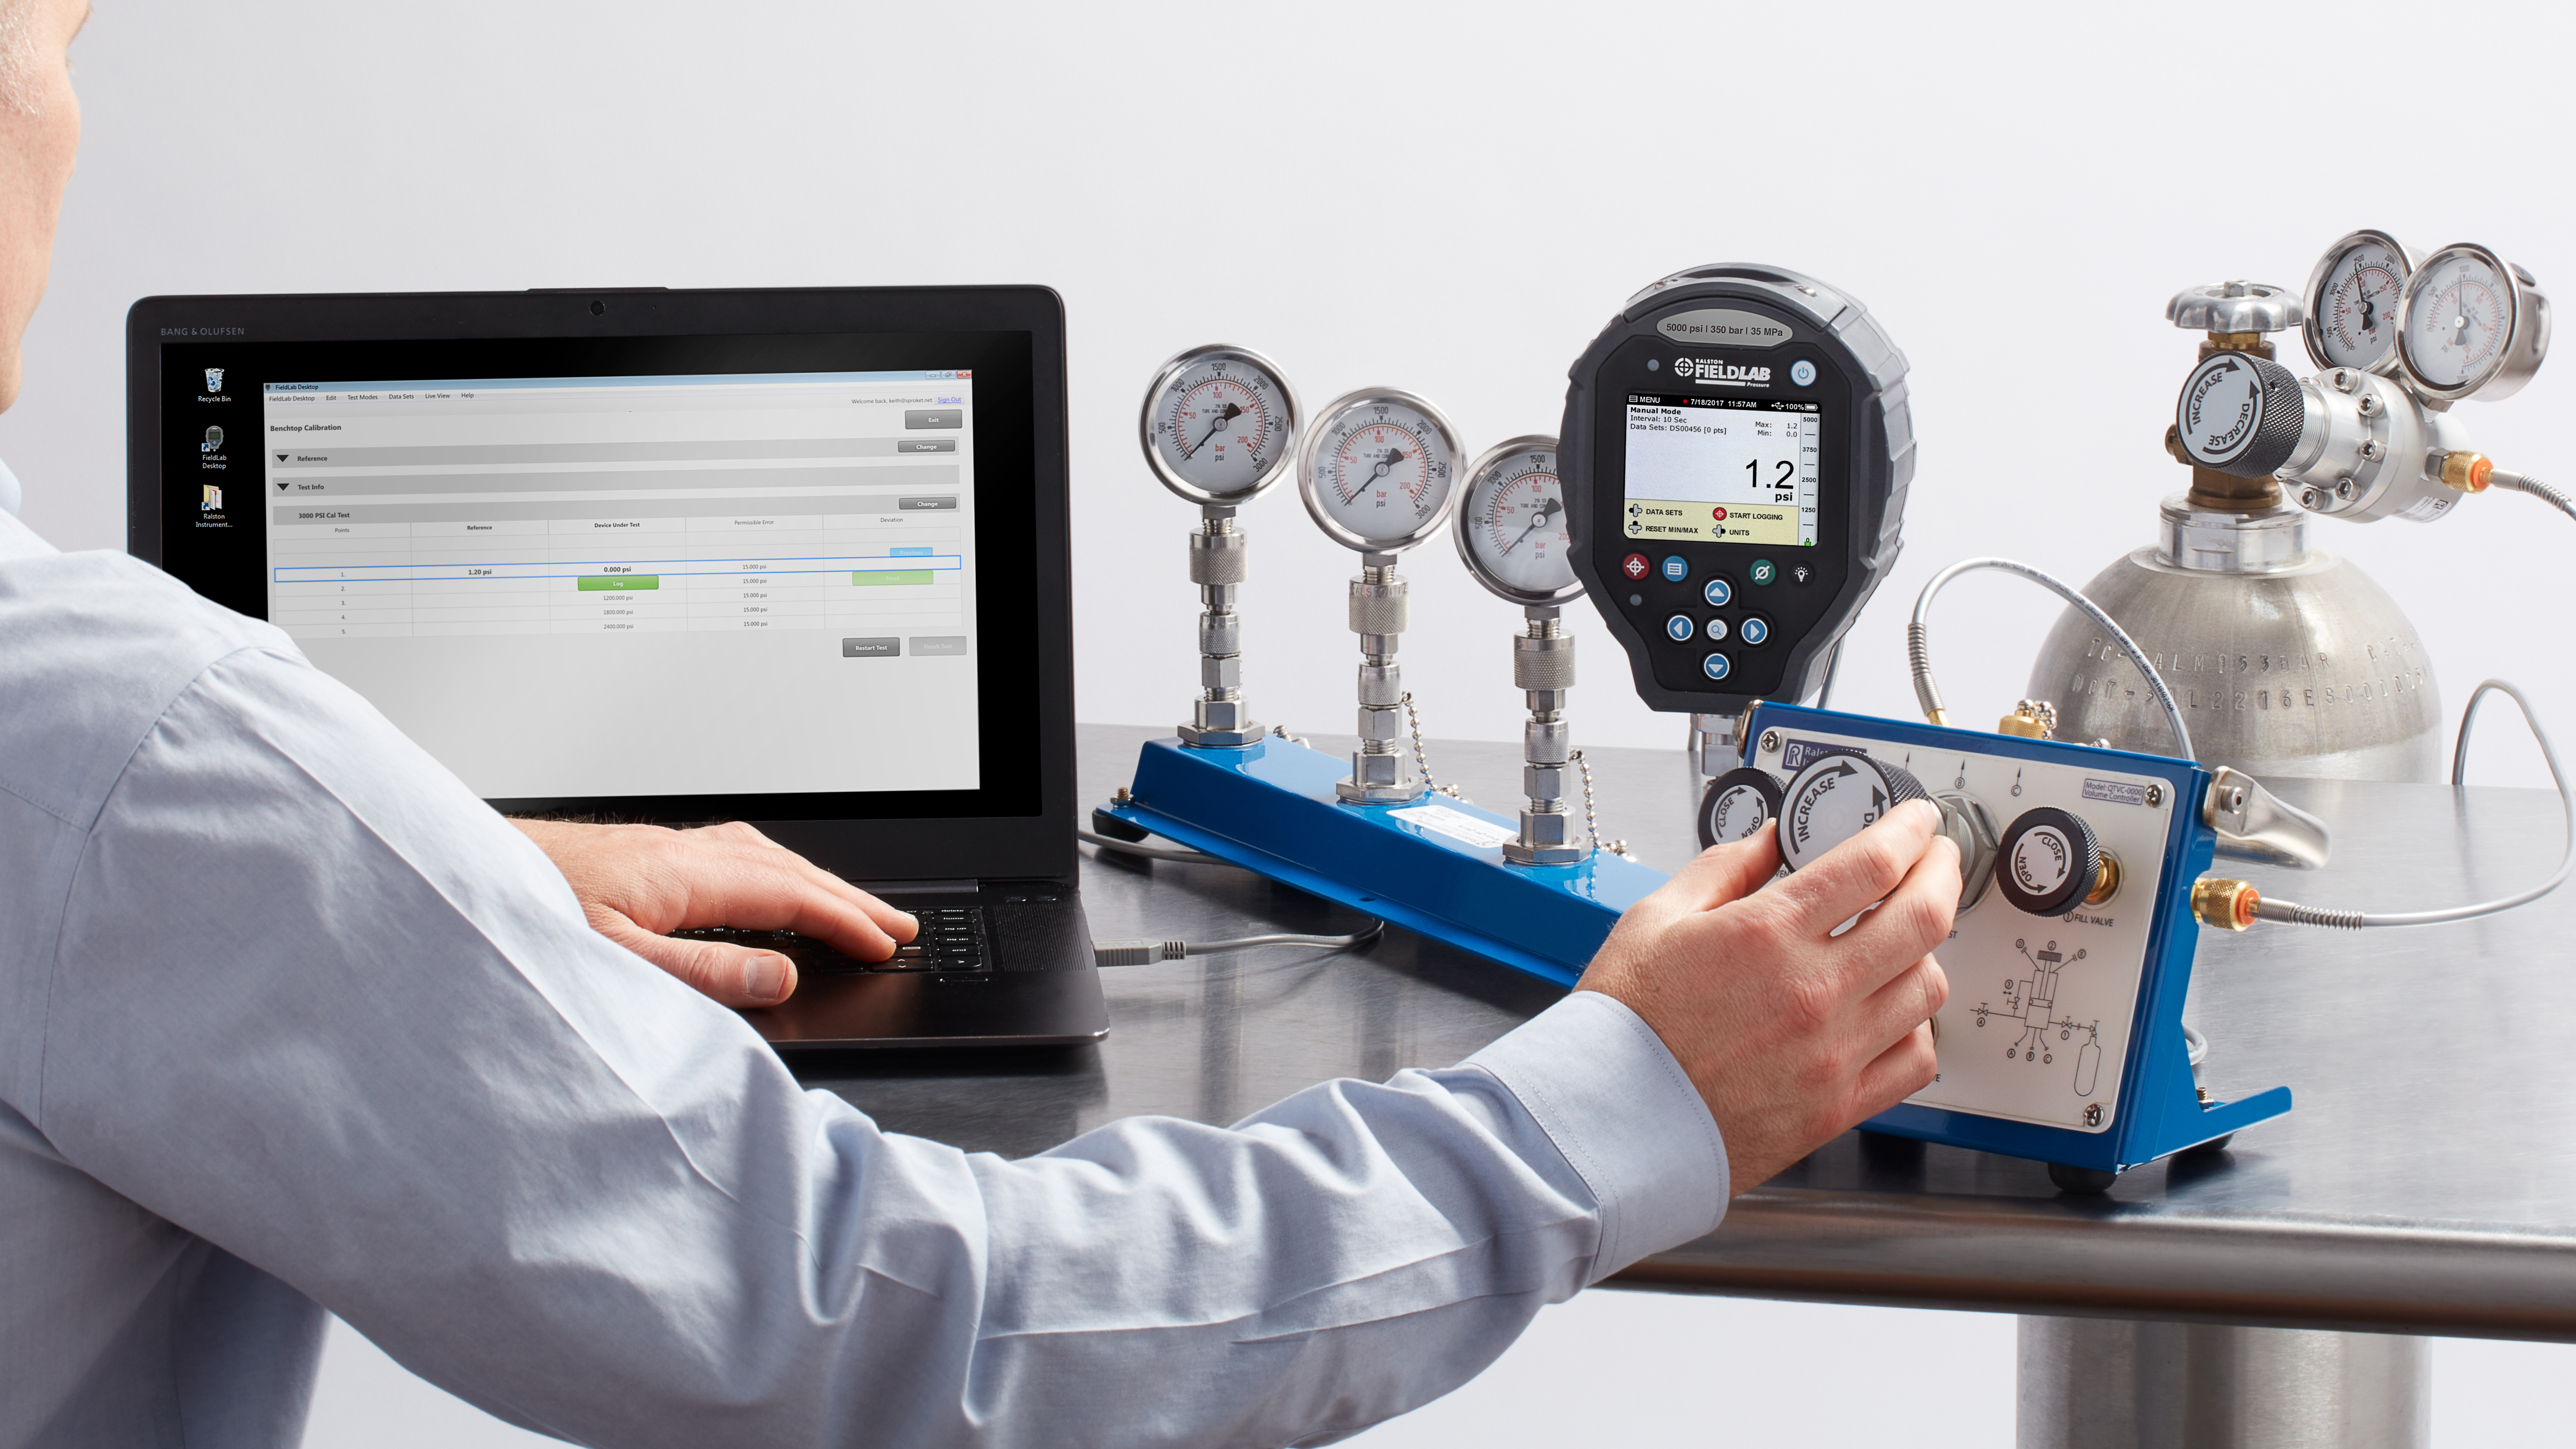
4: Perform a Calibration Test
Log the reading on both your reference and DUT at 0%. Then apply pressure at the number of points called for by the ASME or ISO specification of the gauge. Typically that is a 5 point test with 0%, 25%, 50%, 75%, and 100% of the span and back to 0%, setting each point first on the pressure reference or the gauge being calibrated and comparing it to the corresponding reading on the other pressure instrument. Log all readings from both the reference and the DUT, both up and down the scale.
5: Calculate Deviation
Calculate the difference between the readings on the reference and the DUT to determine if they fall within the permissible deviation at each point along the test. If so, the instrument passes the calibration test. If not, adjustments will be needed. The permissible tolerance is determined depending on what ASME or ISO class of gauge it is.
The Ralston FieldLab - A Better Way to Calibrate
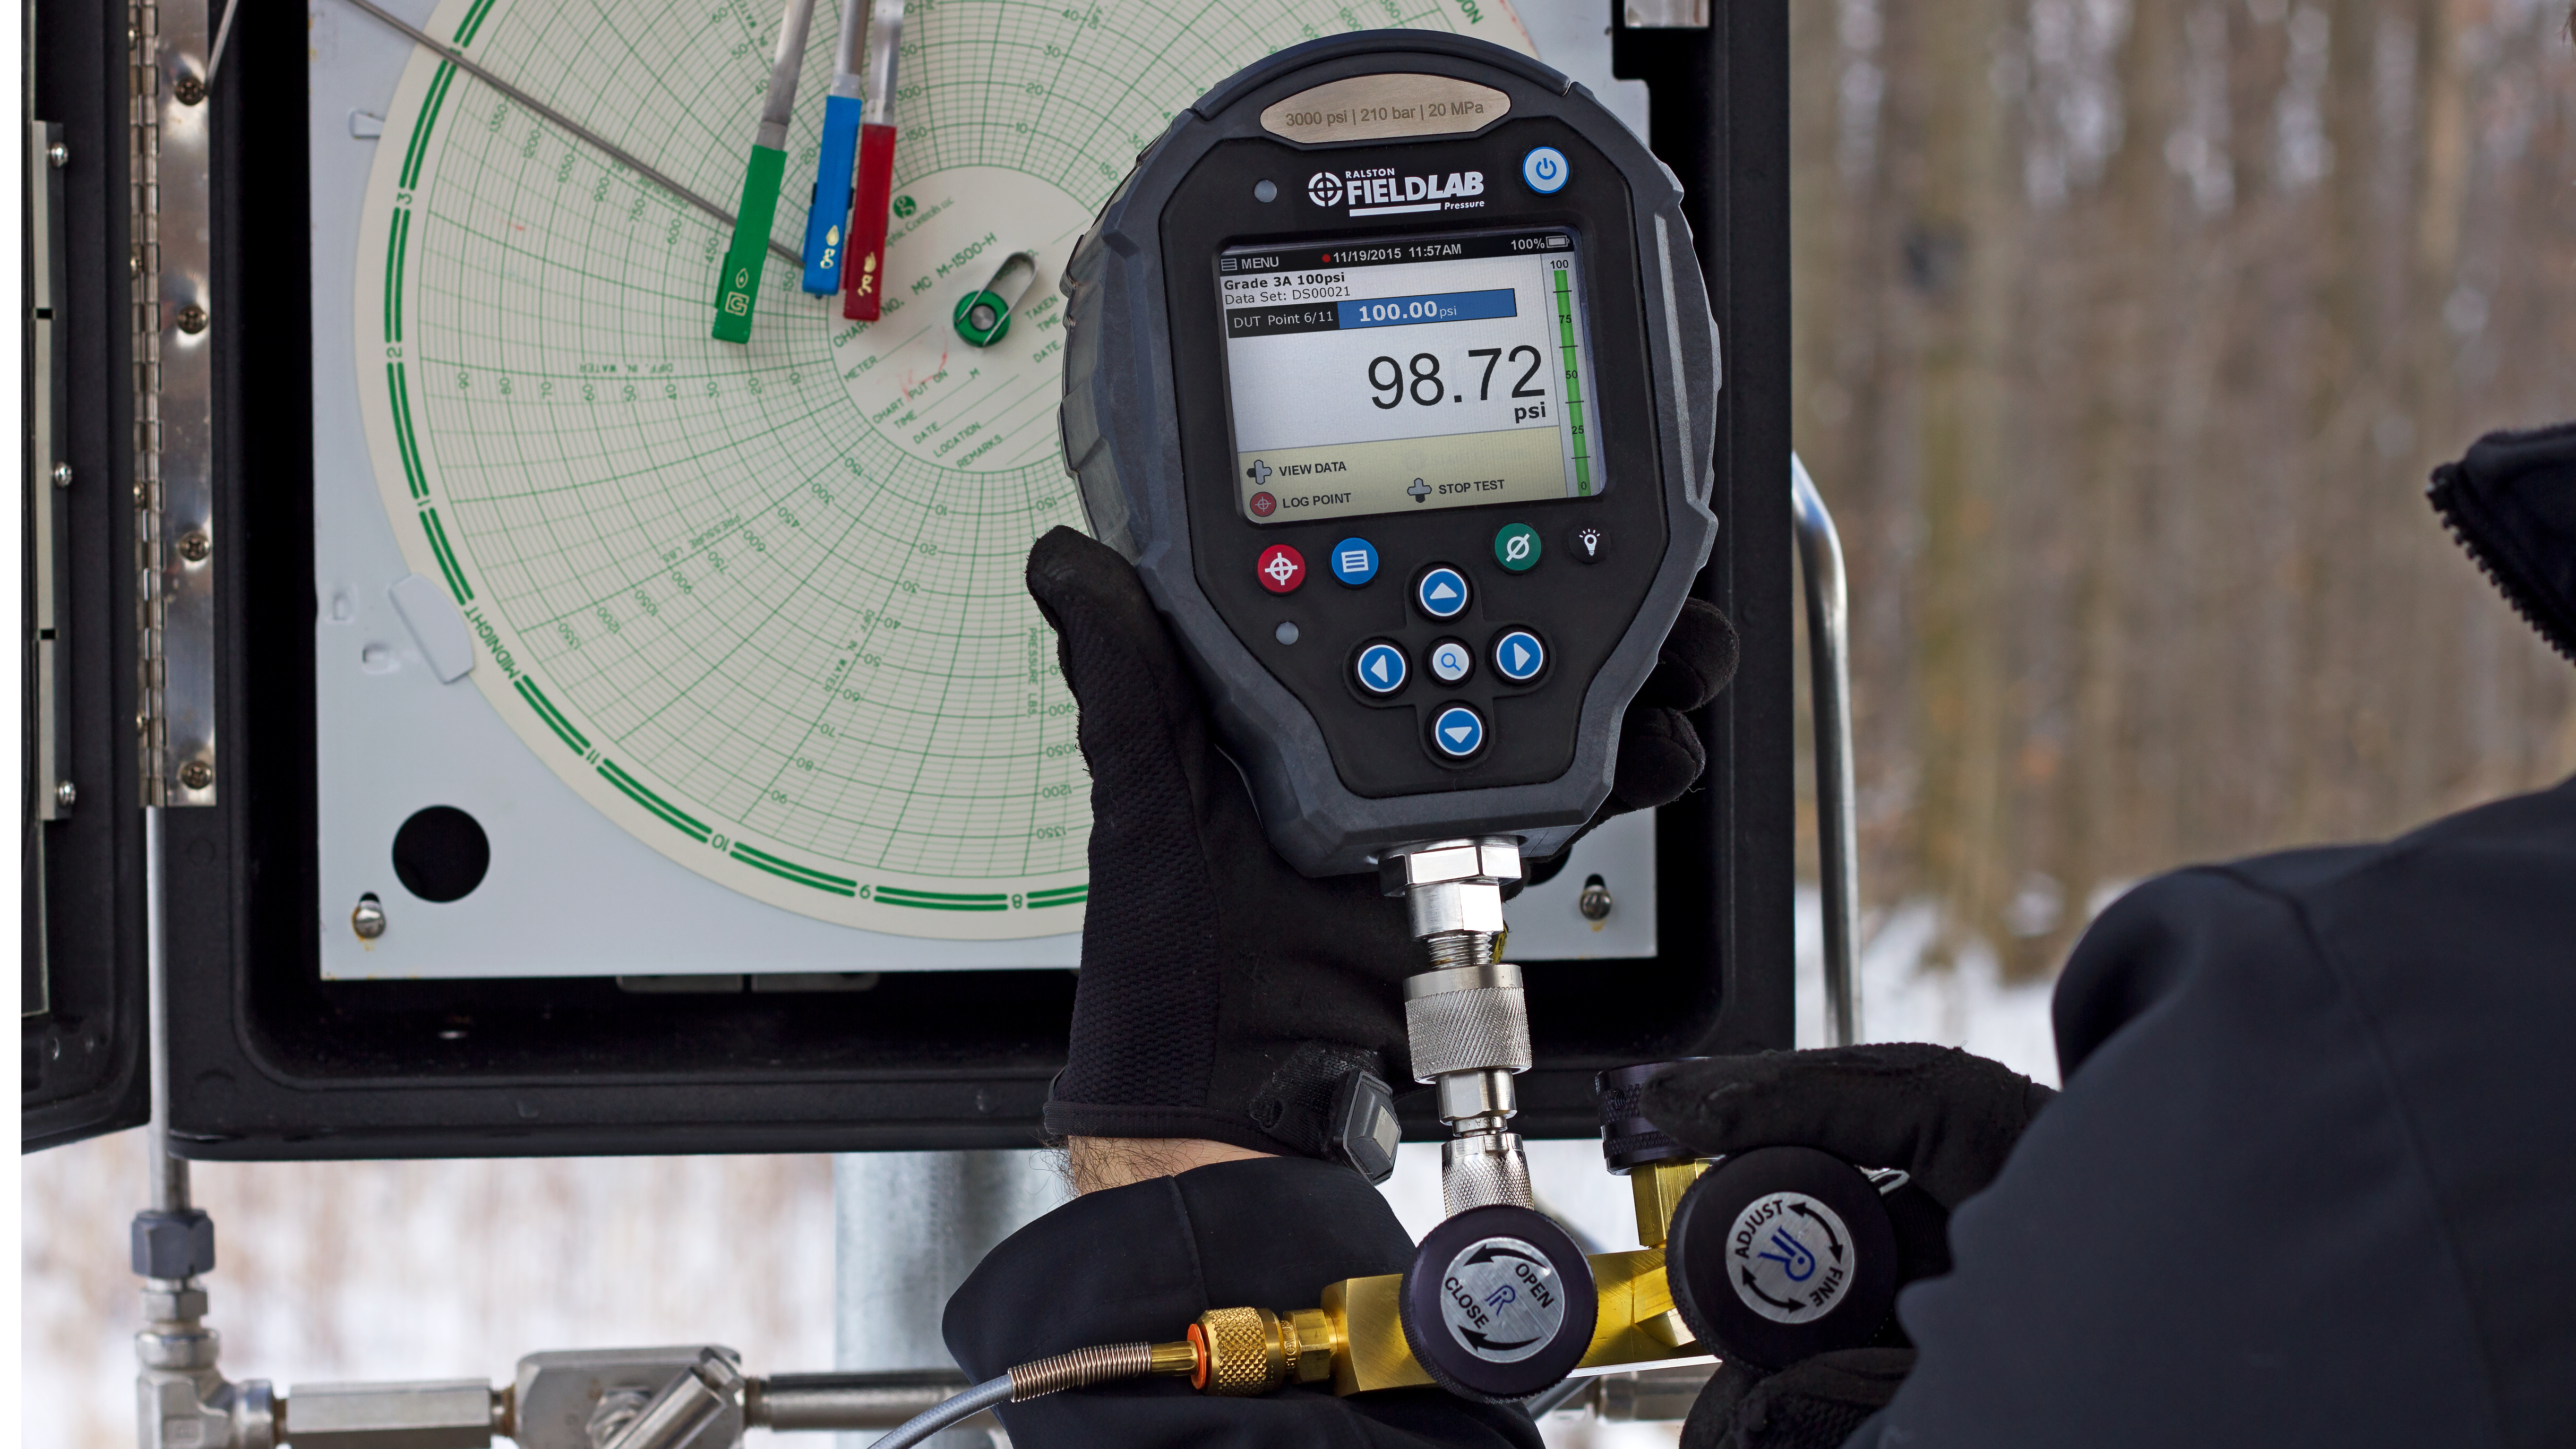
Analog pressure gauges are a ubiquitous part of most industrial operations and as with any measuring device, periodic calibration keeps the integrity of the readings and ensures proper consistent measurements. With the Ralston FieldLab, keeping these essential devices calibrated is fast and easy, whether you’re out in the field and in the lab. As regulatory demands continue to increase, it’s more important than ever to be able to perform calibration testing with 100% traceability. The FieldLab offers a complete, end-to-end digital workflow that eliminates paperwork while providing fast, accurate, traceable results.
Discover a better way to run calibration tests. Find out more about what the FieldLab can do for you.